What is Eclipse ADT for SAP ABAP?
Eclipse ADT (ABAP Development Tools) is the modern, Eclipse-based IDE for SAP ABAP development. It replaces the old SAP GUI-based ABAP editor and brings full-featured developer tools — syntax highlighting, code completion, refactoring, unit testing, and debugging — into a professional IDE environment.
ADT connects to your SAP system via the SAP backend and lets you develop ABAP programs, classes, function modules, and Fiori applications directly from your desktop.
Watch: Full Installation Walkthrough
Full video walkthrough — Install Eclipse IDE & SAP ABAP Development Tools
Step-by-Step Installation Guide: Eclipse & ABAP Development Tools
Download Eclipse Installer
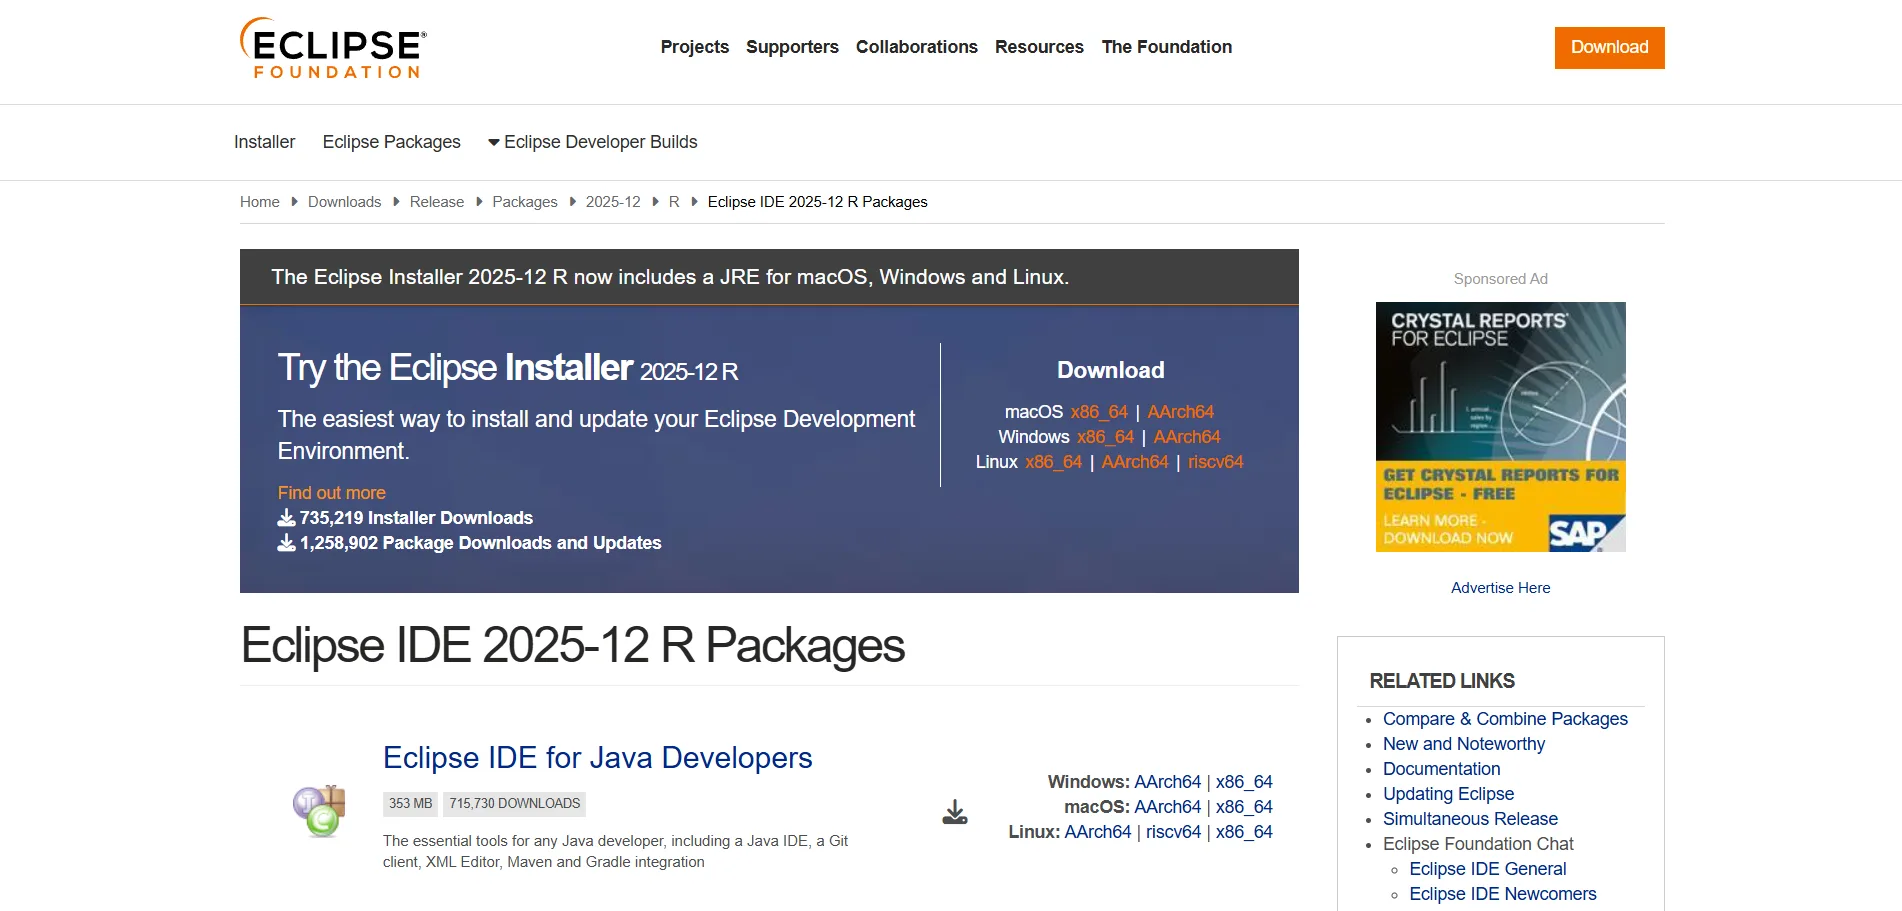
Visit the Eclipse website and download the installer:
- Official Website: https://www.eclipse.org/downloads/
- Click "Download" — the site will automatically detect your OS
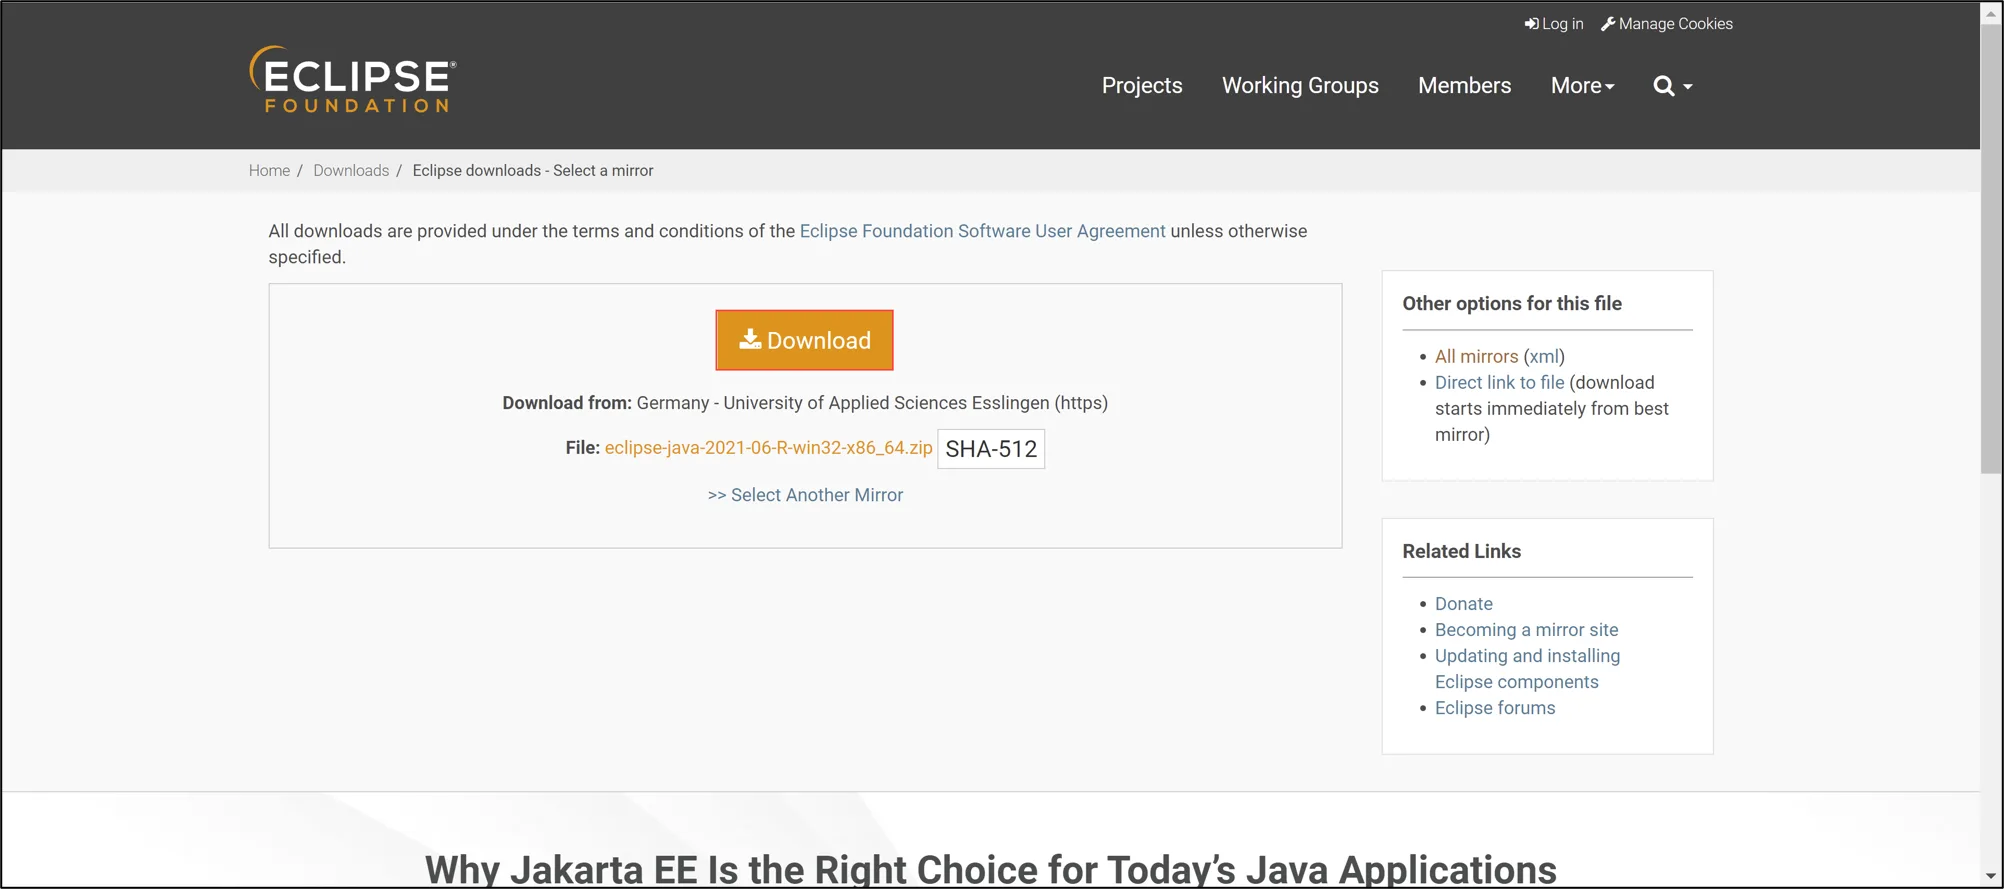
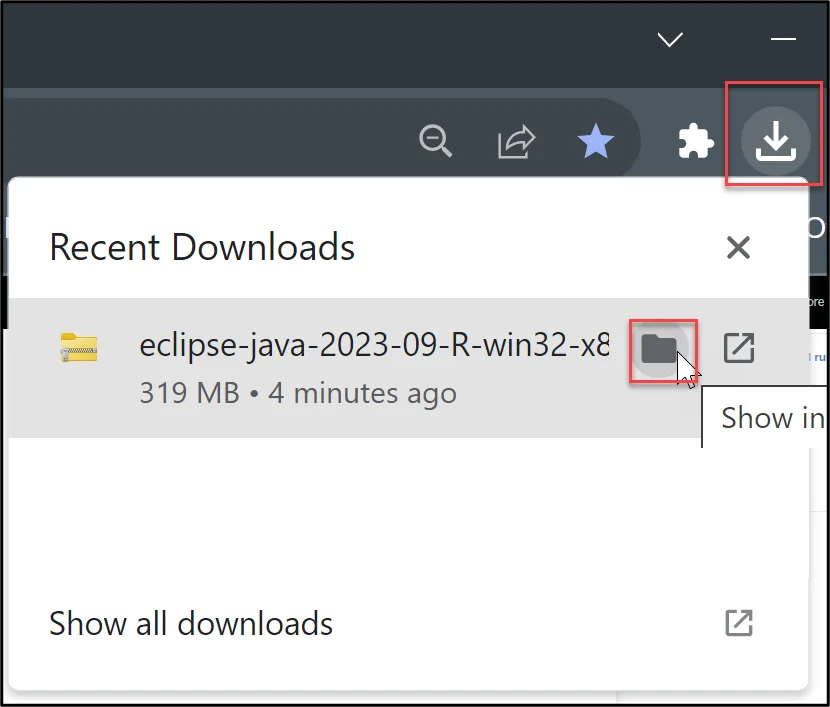
Run the Eclipse Installer
Locate the downloaded installer and run it. Allow security prompts if required.
Select Eclipse IDE for Java Developers
Choose "Eclipse IDE for Java Developers" from the package options.
Configure Installation Settings
Configure your installation preferences:
- ✅ Installation Folder: Use default or choose custom location
- ✅ JRE: Will be automatically bundled
- ✅ Start Menu Entry: Check for easy access
Click Install to begin.
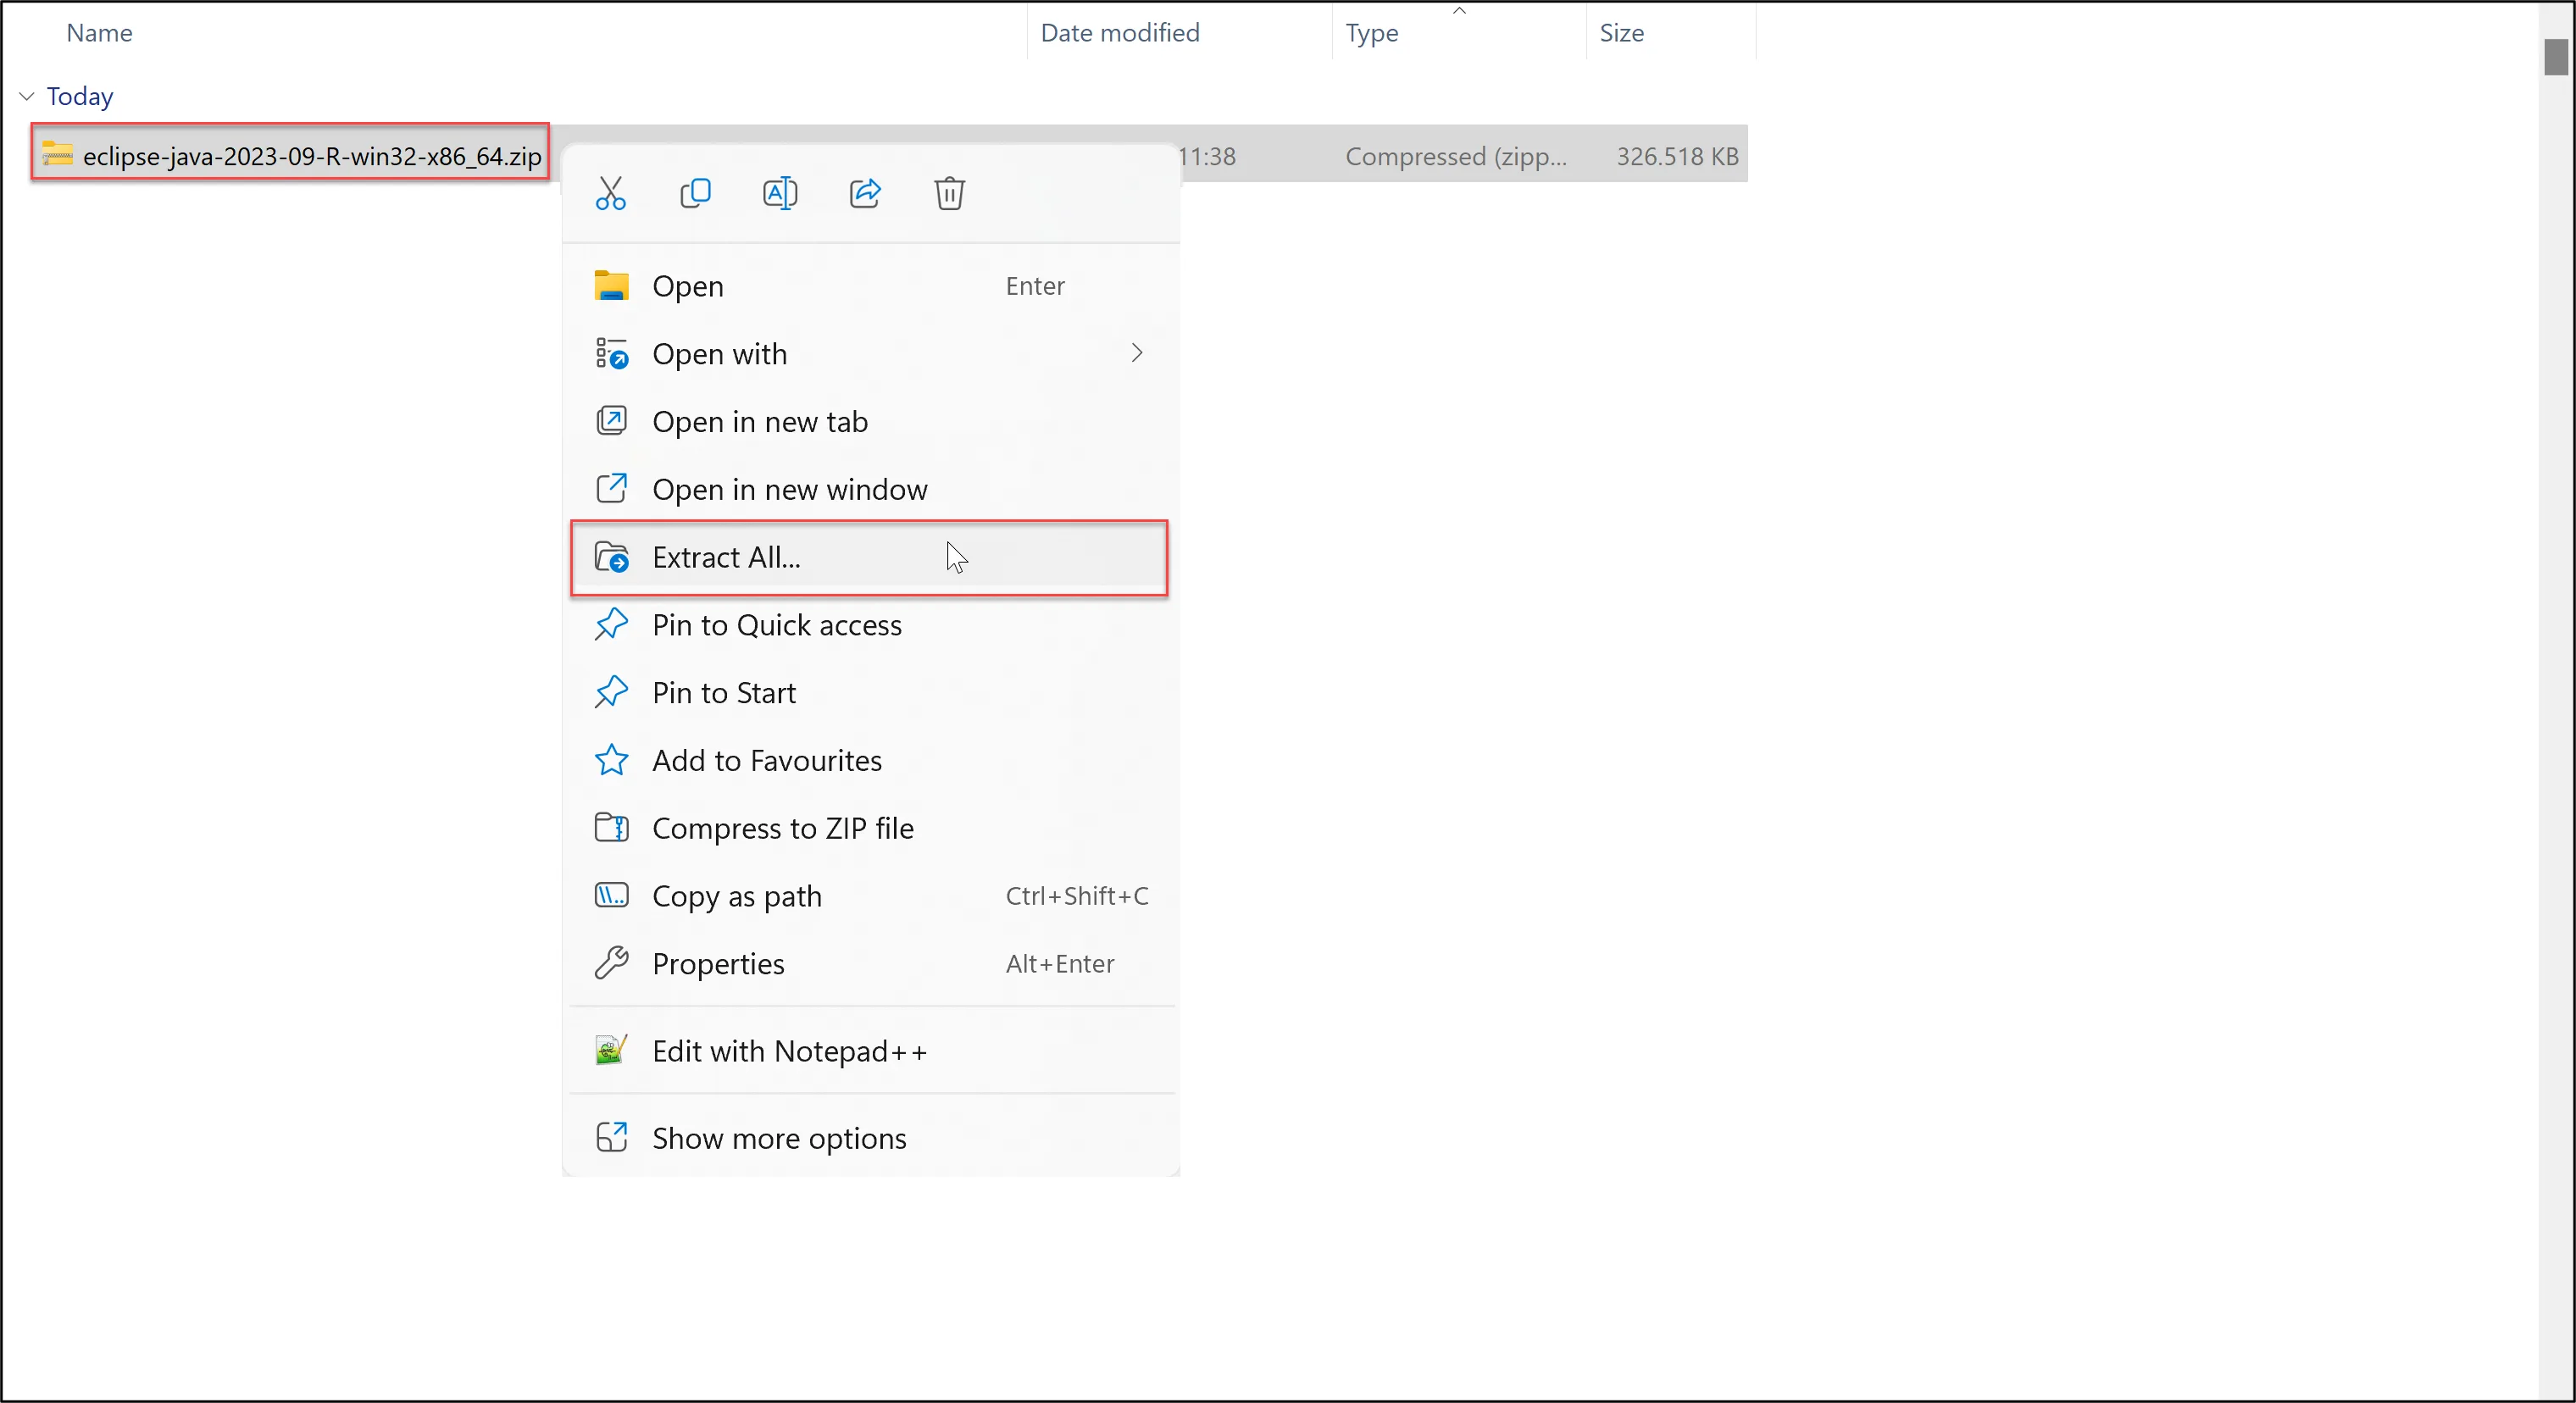
Accept License Agreements
Review the Eclipse Foundation license agreement and click "Accept Now".
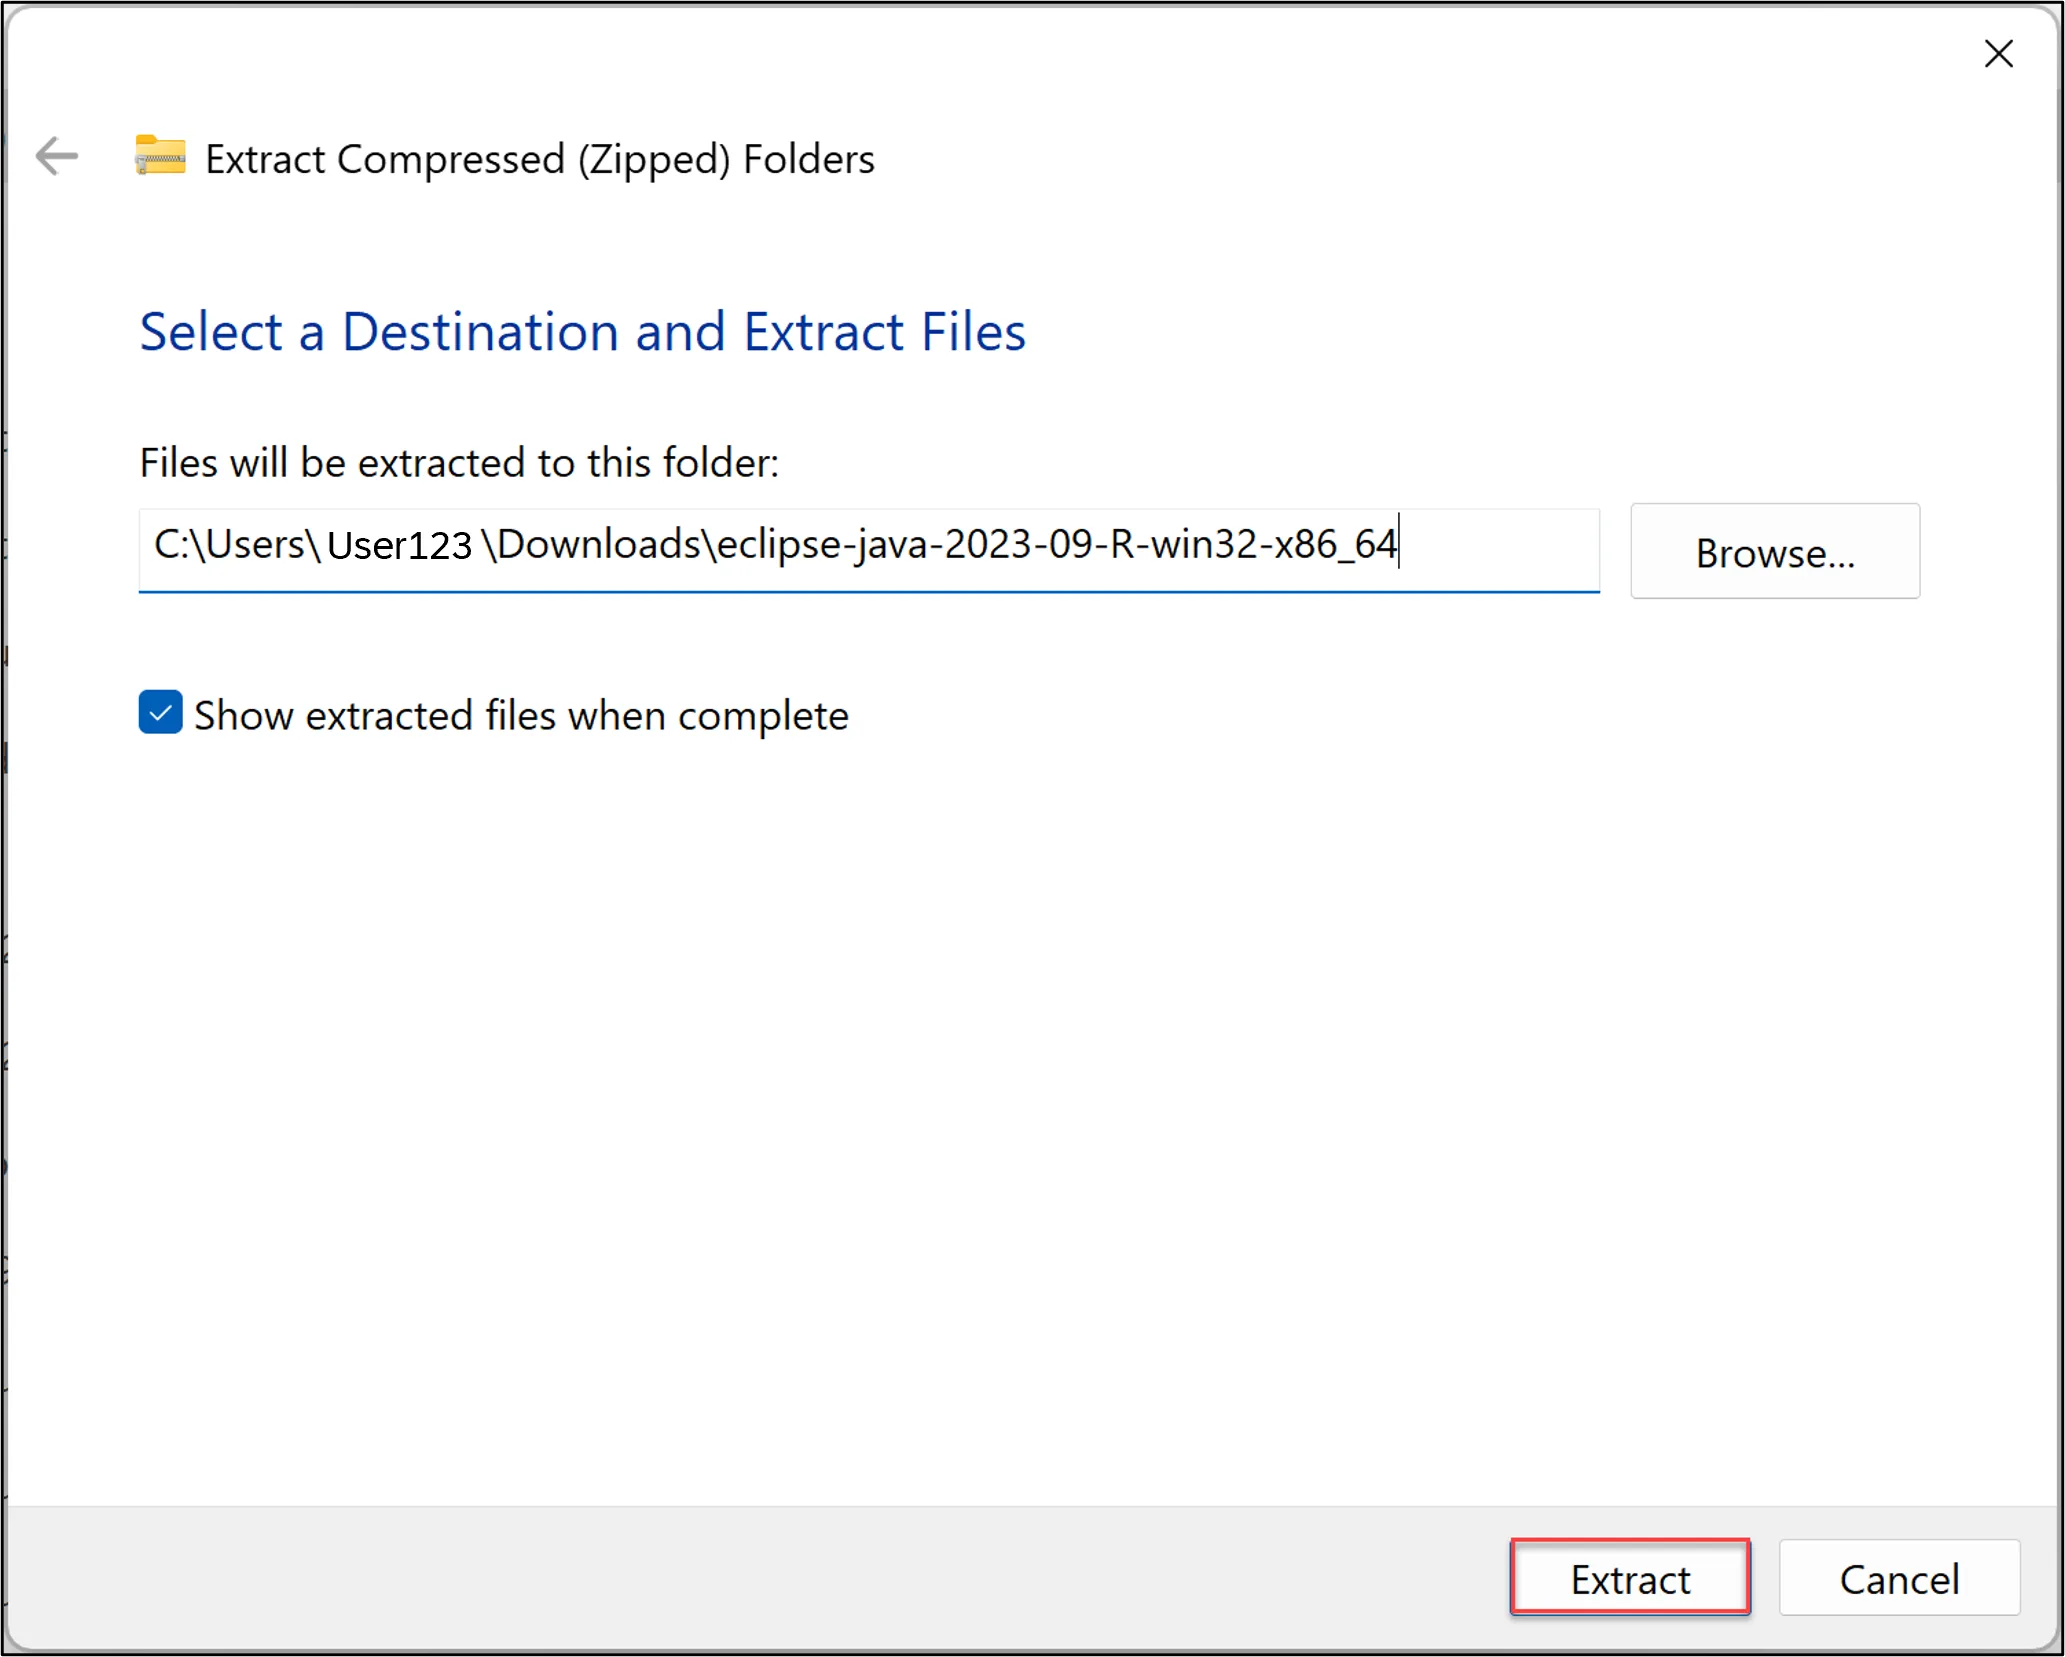
Wait for Installation to Complete
The installer will download and install Eclipse with required components. This may take a few minutes.
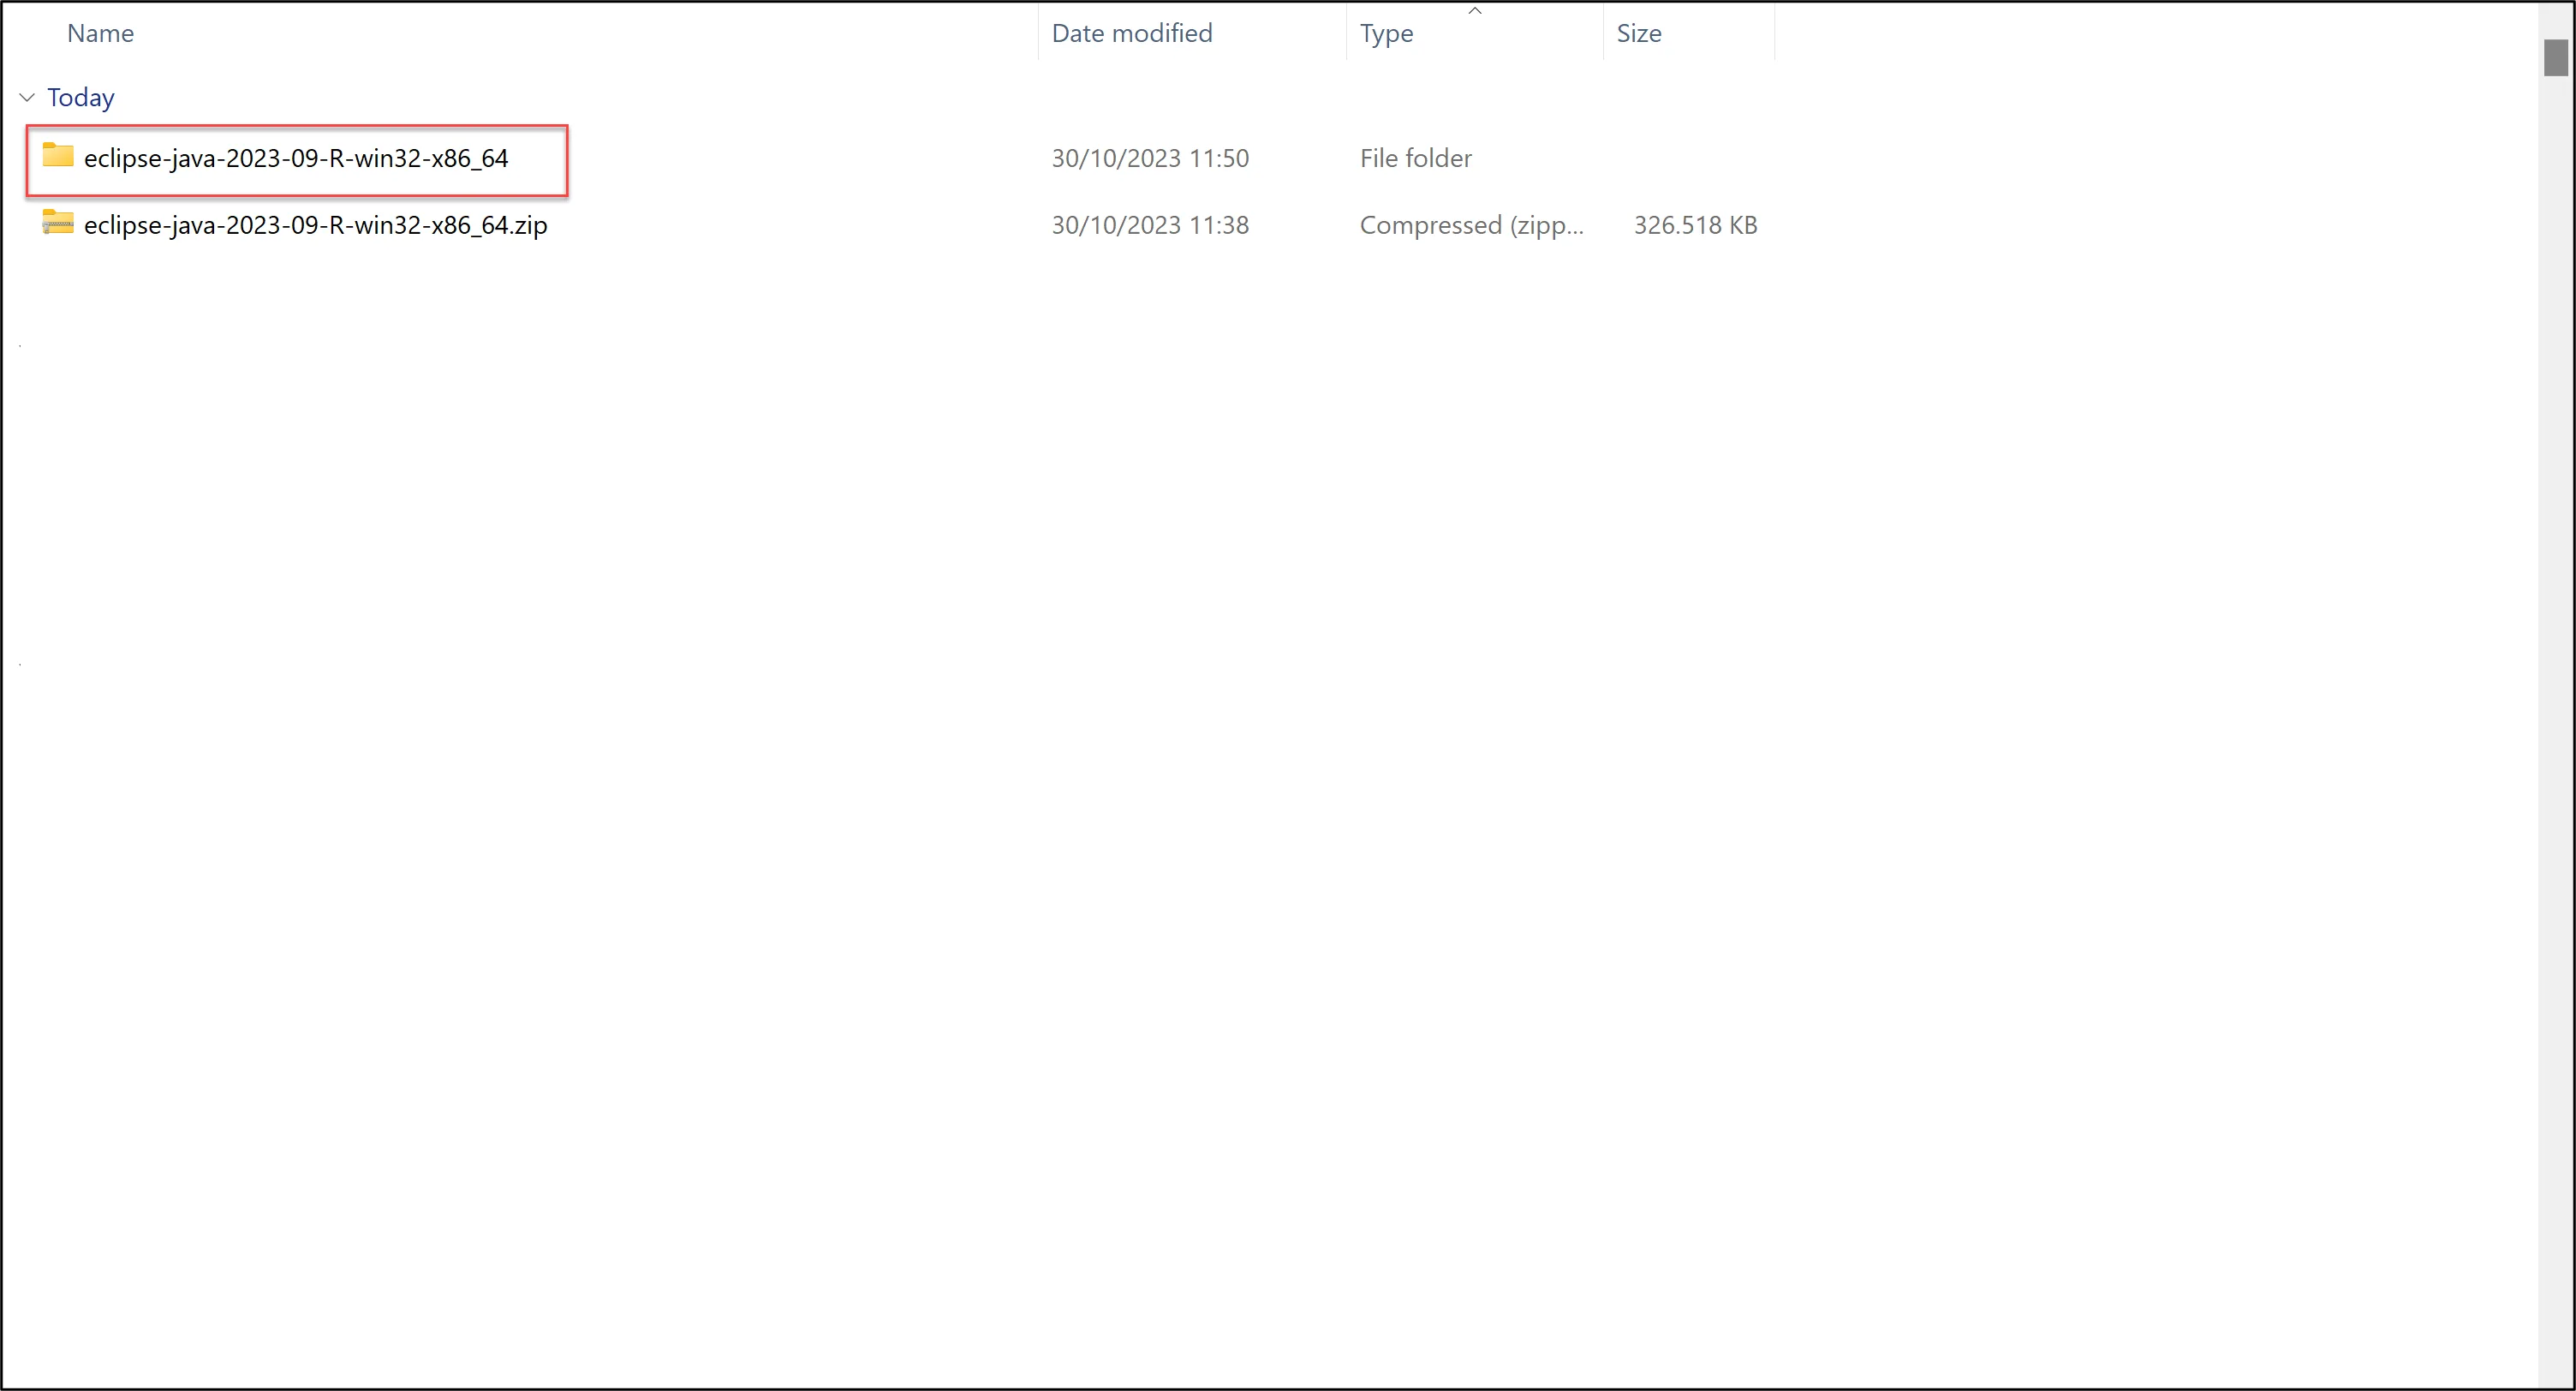
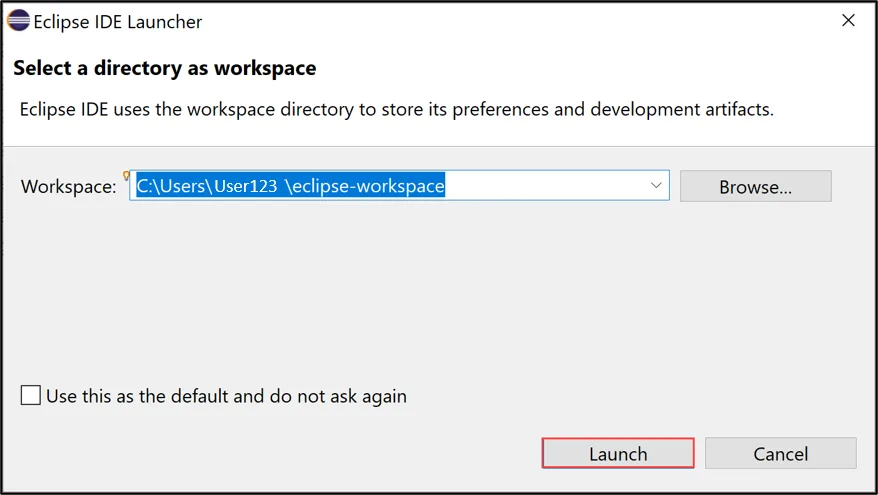
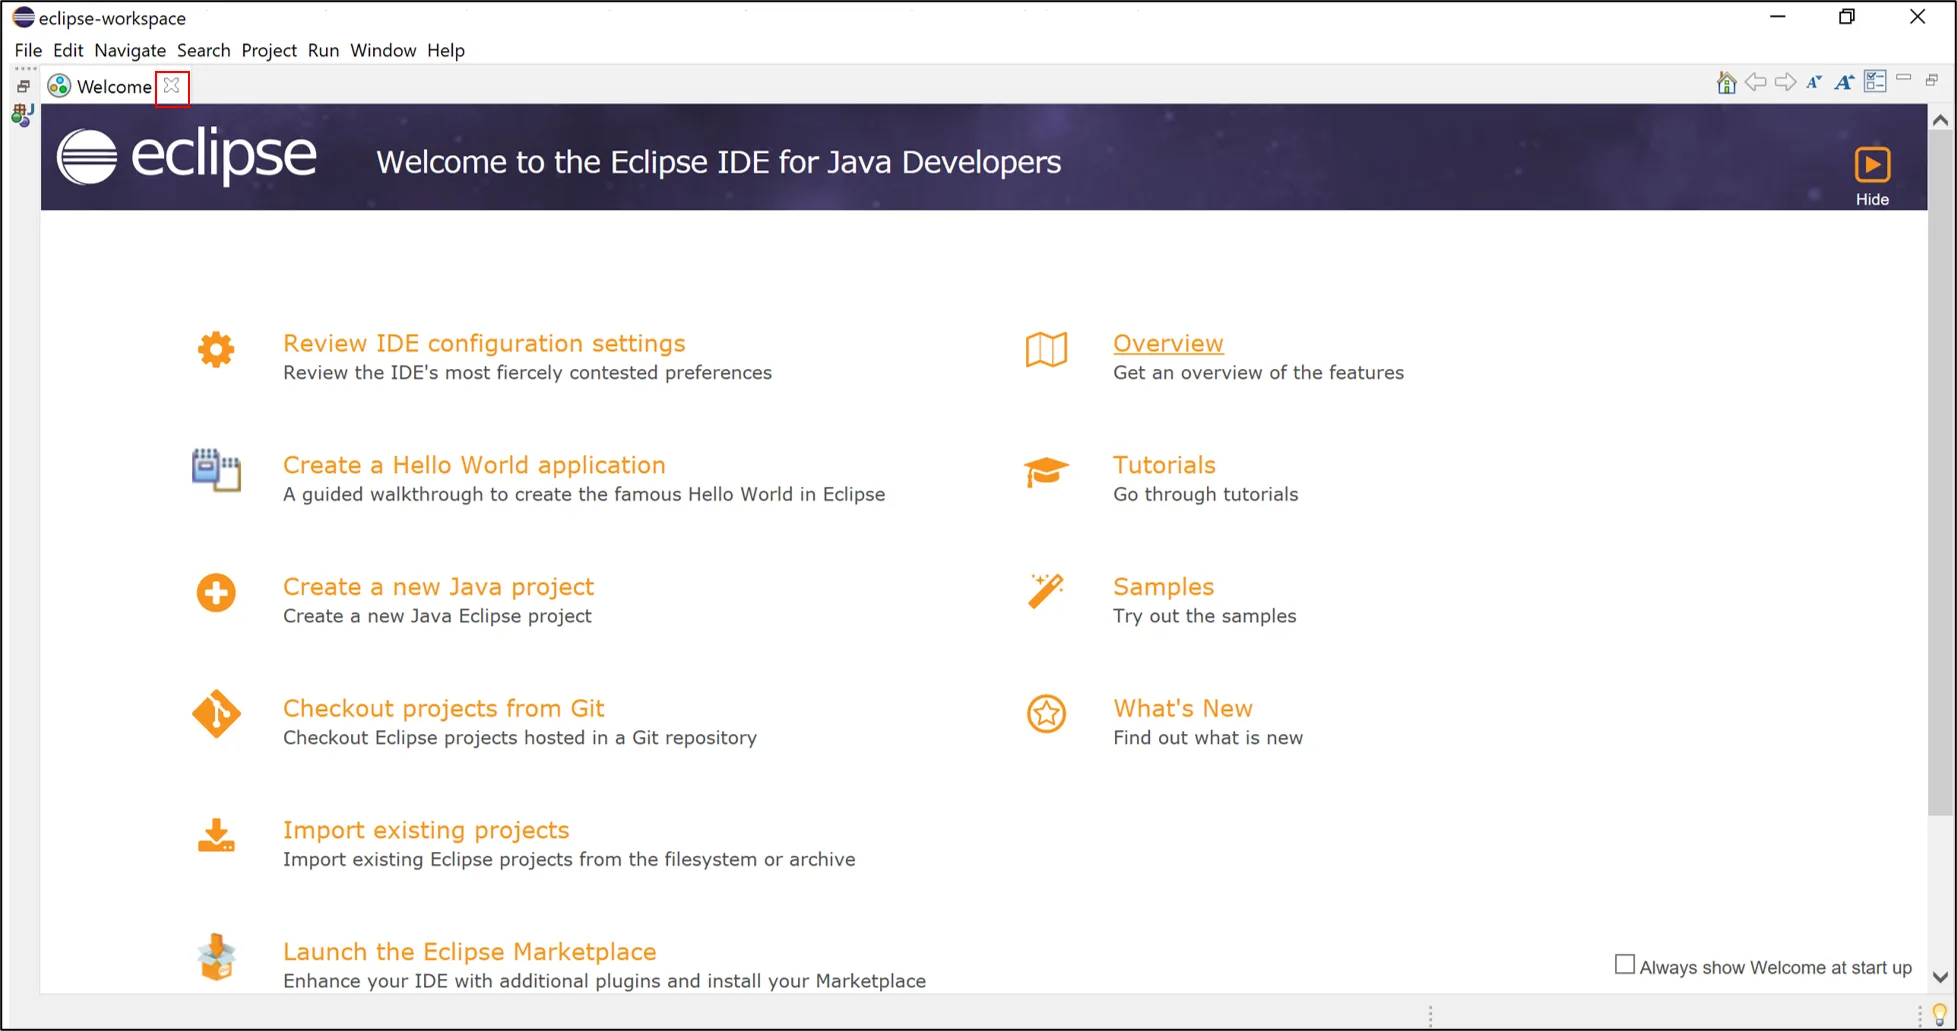
Launch Eclipse IDE
Click "Launch" after installation. Select a workspace directory for your projects.
- ✅ Use default workspace or choose custom path
- ✅ Check "Use as default" to skip this in future

Install ABAP Development Tools Plugin
In Eclipse, go to Help > Install New Software.
Enter the ADT update site URL in the "Work with" field:
ADT Update Site: https://tools.hana.ondemand.com/latest
Press Enter to load available tools.
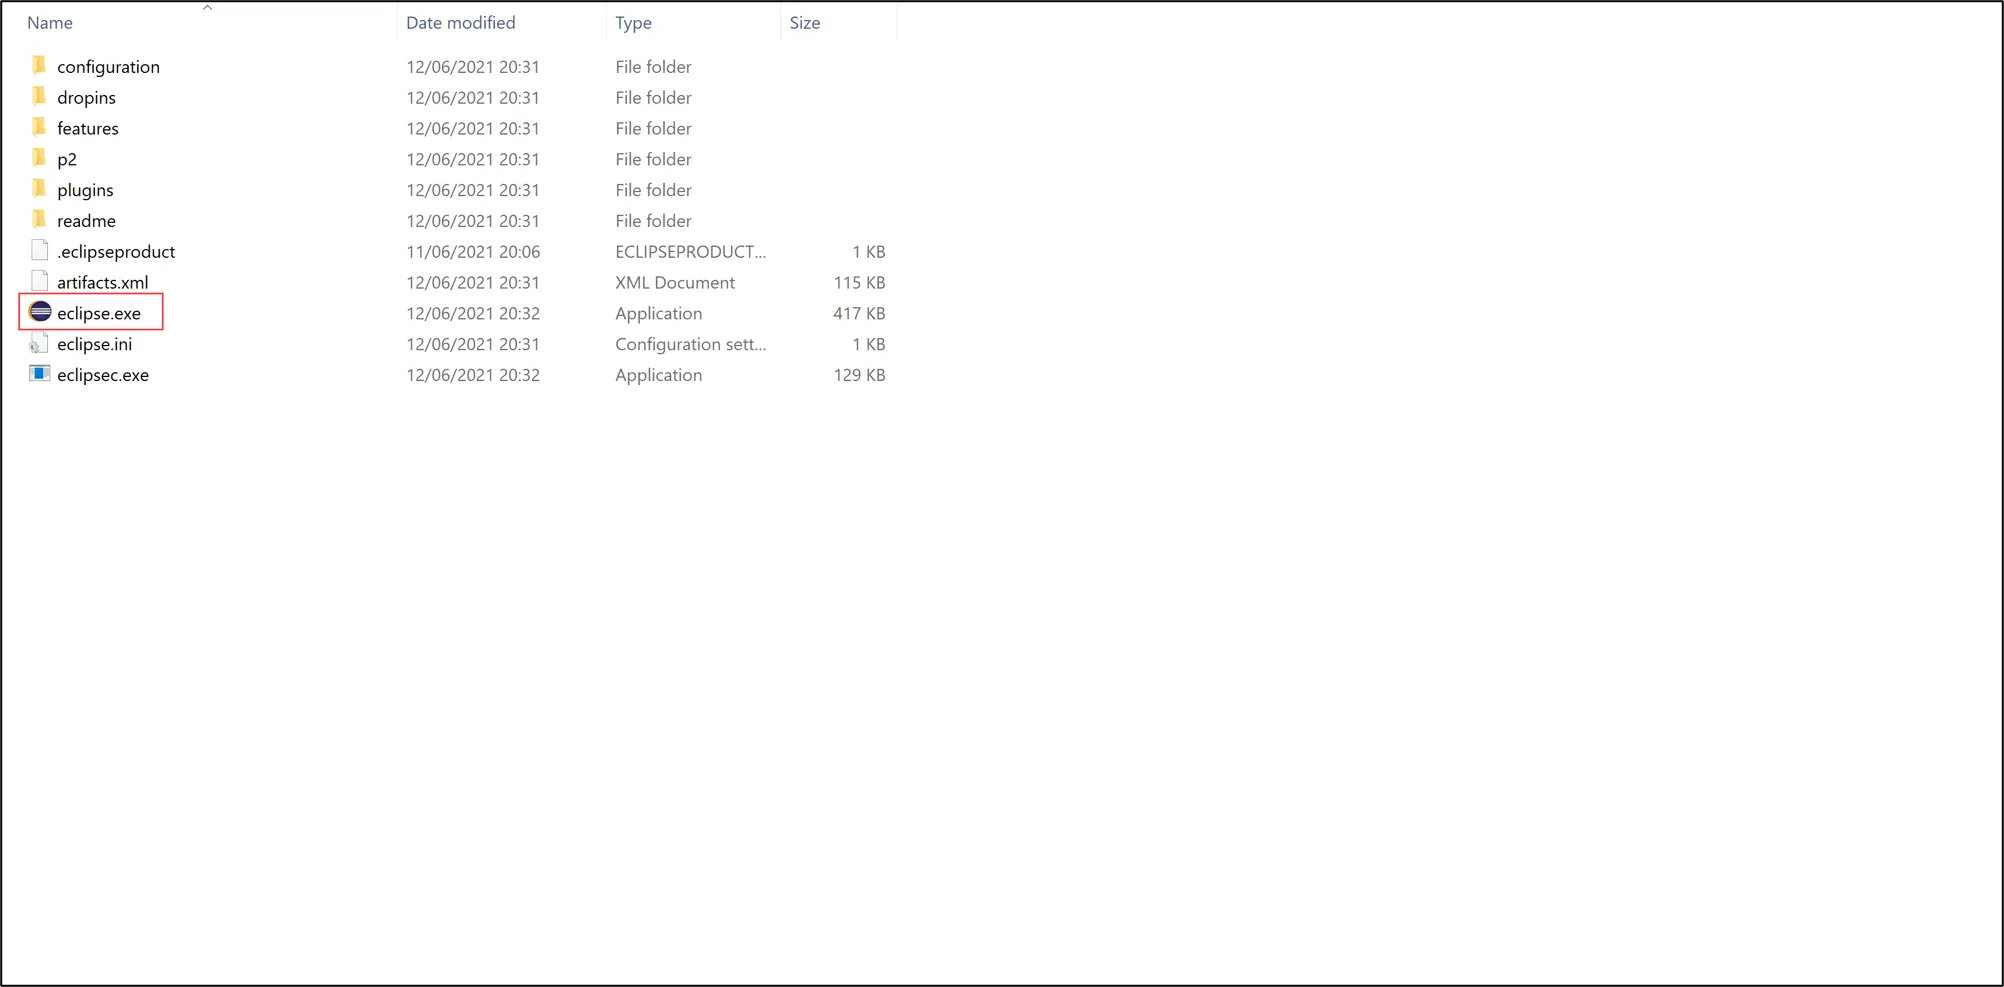
Select ABAP Development Tools
Select "ABAP Development Tools" from the list. Check the main ADT features:
- ✅ ABAP Development Tools — Core functionality
- ✅ ABAP Development Tools for SAP NetWeaver — Additional features
Click "Next" to continue.
Complete ADT Installation and Verify
Accept license terms and click "Finish". Trust the SAP certificate when prompted.
After restart, verify by going to Window > Perspective > Open Perspective > Other — ABAP perspective should be listed.
Connecting ADT to Your SAP System
Once ADT is installed, create a project connection:
- Go to File > New > ABAP Project
- Enter your SAP system details: System ID, Application Server, Instance Number, Client
- Enter your SAP login credentials
- Click Finish — your ABAP system appears in the Project Explorer
You can now create, edit, and run ABAP programs directly from Eclipse. Learn ABAP development with our free SAP ABAP Course →